How to Install a No-Subscription Home Alarm in 2026: Step-by-Step Guide
Installing a no-subscription home alarm takes two to three hours for a 1,000 sq ft house, with no electrical skills required: everything screws or sticks in place, and the hub plugs into a standard outlet. We set up five complete systems in July 2026 for our no-subscription alarm comparison — here is the exact room-by-room method, plus the placement mistakes behind 90% of false alarms.
Last updated: September 2026. Methodology: installation and daily use of five kits (Aqara Hub M3 + security kit, Ring Alarm Pro in local mode, Ajax Starter Kit, Somfy Exavia Protect, Bosch Smart Home Starter Kit) from June to August 2026 in a 110 m² test house and a 65 m² flat — sensor placement, pairing, real intrusion tests, then eight weeks of false-alarm and battery-life tracking.
What to know before you open the box
A no-subscription alarm works locally: the hub triggers the siren and pushes a notification to your phone, with no monitoring centre charging €20–40 a month. You keep control of notifications, footage and access — and you save €240–480 a year compared with a traditional contract. The trade-off: nobody watches your home for you, and the quality of the protection depends almost entirely on how you install it.
A starter kit usually contains a hub, a siren, two to four door/window contact sensors, one motion detector, remote fobs or a keypad, and double-sided tape or screws. The tools that are almost always missing: a Phillips screwdriver, a spirit level, a tape measure, a step ladder, and a cloth with rubbing alcohol to degrease surfaces before sticking anything.
💡 Before buying, answer three questions: does your Wi-Fi reach the entry, hallway and garage (where the hub will often live)? How many doors and windows open to the outside on the ground floor? Do you have a pet heavier than 20 kg roaming at night? The last answer points you to a motion detector with pet immunity — not all kits offer it at the same level.
Step 1: install the hub, the brain of the system
The hub receives the sensor signals, triggers the siren and pushes notifications. Its location is chosen once and almost never moved, so take the time to get it right.
- Pick a central spot, not a cupboard. Sensor radio range reaches 30–50 m in open air depending on the brand (Zigbee, Z-Wave or proprietary protocol), but every concrete wall or metal-stud partition cuts the range by a third or half. A hub buried in a basement garage is the recipe for sensors that keep “losing connection”.
- Within 3 m of an outlet. Most hubs run on USB or mains power. Add a surge-protected power strip if your power is unstable.
- Out of sight from outside. An intruder who spots the hub through a window can neutralise it by cutting the power — unless it has a backup battery. Check the spec sheet: Aqara, Ring and Ajax hubs carry several hours of battery backup.
- Out of reach of kids and pets. A long press on the hub button often disarms the system. High up or in an unlocked cabinet is better.
Plug in the hub, install the brand’s app, create your account and let the hub update before going further. Across our five kits, the initial firmware update took between 4 and 25 minutes — run it in the evening, not at 11 pm when you want to finish the job.
Step 2: fit the door and window contact sensors
A contact sensor has two parts: the sensor and the magnet. When the gap between them exceeds 1–2 cm, the alarm knows a door or window just opened. The fitting is identical everywhere, and it is the step where one positioning mistake ruins everything: a misaligned magnet triggers the alarm when the door slams in a draught.
- On the fixed frame, never on the moving part. The sensor screws or sticks to the frame, the magnet to the opening part, aligned face to face. On a door that slams, a sensor on the moving part takes the vibration and slowly drifts out of alignment.
- At the top of the door or window. Less reachable for an intruder who might remove the sensor, and out of reach of jumping dogs.
- Line up the marks. Most models have a mark or test LED: when the two parts face each other, the LED goes off. Stick the magnet, test the closure, adjust before final fixing.
- Degrease before sticking. Double-sided tape lasts for years on a clean surface; on fresh or dusty paint it gives up after three weeks. On porous supports (bare concrete, brick), use the supplied screws.
Do not protect only the front door. In our test house, the simulated break-ins also came through the living-room patio door, the kitchen window facing the street and the communicating garage door. Every ground-floor entry deserves a sensor — it is the first extension you will buy, and our door/window sensor comparison covers the models compatible with each ecosystem.
Step 3: install the motion detector
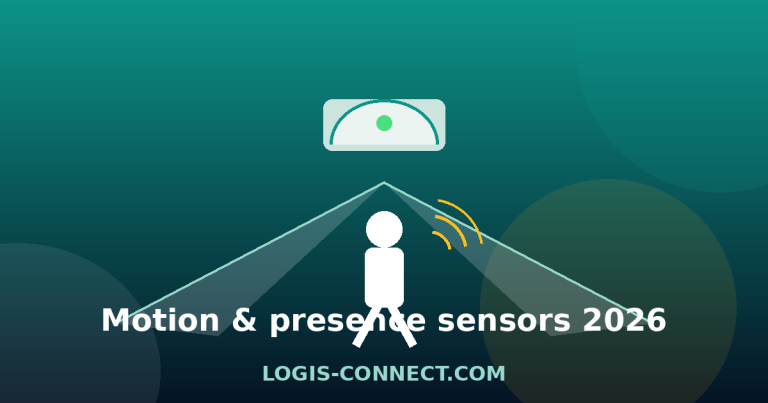
The motion detector covers what contact sensors cannot see: an intruder coming through a window left open, or someone already moving inside the house. It is the trickiest sensor to place, because a badly aimed detector is either blind or an endless source of false alarms.
- In a corner, 2–2.4 m high. A corner position maximises the field of view (90–110° on most models) and covers two directions with one sensor. The exact recommended height is in each manual: Ring recommends about 2.2 m, Ajax 2.4 m, Bosch 2 m.
- Perpendicular to the likely path. A PIR reacts better to movement crossing its field than to someone walking straight at it. Aim it at the patio door or along the hallway, not at a wall.
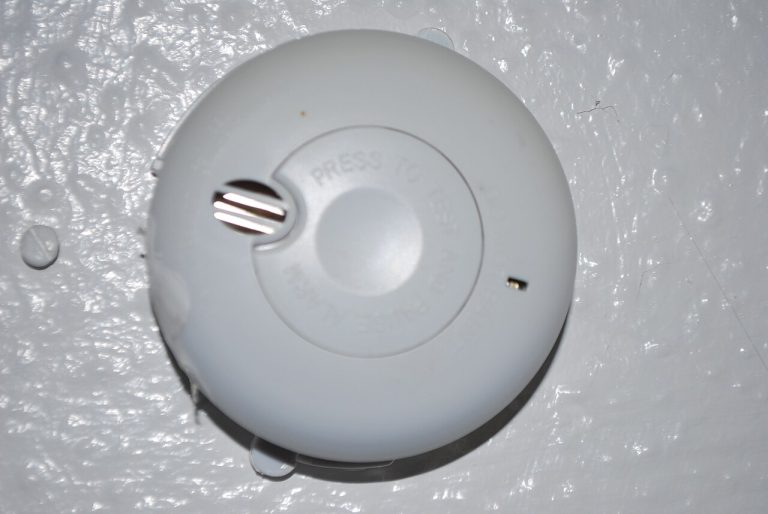
- Never facing a window, heat source or radiator. Passive-infrared detectors see heat changes: sun heating the floor through glass or a radiator switching on triggers phantom alarms — the number one cause of nuisance trips, which we break down in our guide to a smart-home alarm going off randomly.
- Away from vents and lightweight curtains. The airflow from an HVAC vent or a moving curtain is enough to fool some sensitive detectors.
- Aim above the pets’ roaming zone. If your cat roams at night, mount the detector at the top of its recommended range and use the pet-immunity mode if the kit has one. Announced thresholds range from 15 to 40 kg depending on the brand — the animal’s weight is not the only factor; its size and distance from the sensor matter too.
Where to put it first? The hallway serving the bedrooms, the upstairs landing, or the living room if your ground floor opens onto a large patio door. One well-placed detector beats three badly aimed ones. To pick the model, our motion sensor comparison reviews the options compatible with each hub.
Step 4: wire up the siren
The indoor siren from the kit goes in the entry or landing, at least 2 m high, so it is heard across the house and discourages the intruder from lingering. On kits that accept an outdoor siren (Ajax, Somfy, Ring with its outdoor chime), install it under an eave, out of reach (2.5 m minimum) and ideally visible from the street: its job is as much to alert the neighbours as to scare the intruder.
Check two things before fixing it: does the siren have a backup battery (cut off from mains, it must keep sounding)? And does the kit include tamper detection (removing the unit triggers the alarm)? These two features separate a decorative siren from a real alarm siren.
Step 5: pair the sensors and configure the app
Each sensor pairs with the hub in “add accessory” mode: you put the hub in listening mode from the app, then insert the sensor’s battery or press its pairing button. Across our five kits, pairing one sensor took between 30 seconds and 3 minutes. Do it room by room and rename each sensor right away (“front door”, “kitchen window”): a sensor named “sensor 3” is useless when the alarm goes off at 3 am.
Use the setup phase to set the three parameters that decide day-to-day comfort:
- Entry and exit delays. 30 seconds on exit and 30–45 seconds on entry are good starting points. Too short, and you trip the alarm while hunting for your keys; too long, and you leave an entry window for someone following you in.
- Modes. Most kits offer at least “disarmed”, “armed home” (everything active) and “armed night” (contact sensors active, motion detectors in traffic areas off so you can move around at night). Add an “away” mode for multi-day trips — some kits throw in presence simulation.
- Notifications. Turn on push alerts and choose who receives them (each household member can have their own account). On Ring and Ajax, notifications include the photo or video history depending on the sensors installed.
Step 6: test like an intruder, not like a salesperson
The final test happens in real conditions, and it is the step everyone skips. Arm the system, wait out the exit delay, then open every protected door and window one by one: the hub must sound or notify within seconds. Then arm again and walk across the motion detector’s field: does it trip during the entry delay, as designed? Finally, test the failure scenarios: cut the hub’s power (does the backup battery take over?), then your internet router — the hub must at least sound the local siren with no network.
Log the date of this test in your phone and repeat it after any major change: moving the Wi-Fi router, adding a sensor, switching ISP. An alarm that has never been tested is an alarm whose flaws you discover on the night it should work.
DIY install vs a professional: the real comparison
✅ Install it yourself
- Save the €150–400 an installer charges.
- Two to three hours for a full kit, no specialist tools.
- You know every sensor: reconfiguring, moving or extending the system becomes natural.
- No-subscription kits are designed for DIY — the apps’ installation walkthroughs guide every step.
- Ideal for renters: double-sided tape leaves no trace and everything comes down in ten minutes.
⚠️ Hire a professional
- Installation billed at €150–400 depending on floor area and sensor count.
- Justified for a large home (over 150 m²) with many entry points or unusual constraints.
- Some insurers require a professionally certified installation to validate the policy — check before paying.
- An installer can also fit wired sensors or Grade 2 solutions that consumer kits do not offer.
- For a no-subscription system the value is limited: a pro’s real worth lies in monitoring, which is precisely what you are skipping.
How many sensors for which home?
| Setup | Contact sensors | Motion detectors | Siren |
|---|---|---|---|
| Flat, 60–80 m² (1 entry) | 2–3 (door + windows) | 1 (entry hallway) | 1 indoor |
| House, 80–120 m² (3–4 entries) | 4–6 | 2 (entry + landing or living room) | 1 indoor + optional outdoor |
| House, 120–200 m² (5+ entries) | 6–10 | 3 (entry, landing, living area) | 1 indoor + 1 outdoor |
| Second home | Every entry | 2–3 | 1 indoor + 1 outdoor + dedicated siren |
These figures come from our eight weeks of testing, not a manufacturer’s chart: they assume every ground-floor entry is protected, which remains the minimum rule. Starter kits cover 80% of flats; houses almost always need one or two extra sensors, sold separately (€15–40 each depending on the ecosystem).
Home insurance and alarms: what actually changes
Installing an alarm can cut your home insurance premium, but the conditions vary widely between policies. Some insurers apply a 5–10% discount for any alarm system; others require certified equipment (EN 50131 standard, Grade 2) and a professional installation — which rules out most DIY kits from the start. The right sequence: ask your insurer for the exact discount conditions before buying, and keep the kit receipts. Proof of correct installation with photos may be requested after a claim. Never overstate your protection level in your declaration: after a burglary, the insurer checks that the declared equipment existed and worked.
FAQ: installing a no-subscription home alarm
Do I need a subscription for an alarm to work?
No. A no-subscription alarm works locally: the hub triggers the siren and sends a notification to your phone over your internet connection. The subscription (€20–40/month) adds professional monitoring — a centre that reacts on your behalf when you cannot. Kits like Aqara, Ajax, Somfy or Ring in local mode work perfectly without a contract.
How long does it take to install a no-subscription alarm?
Allow two to three hours for a complete kit in a flat or a house under 120 m²: one hour for the hub and contact sensors, thirty minutes for the motion detector, and the rest for pairing, configuration and the final test. Add thirty minutes per extra sensor beyond the starter kit.
Where should door and window contact sensors go?
On the fixed frame, at the top of the door or window, with the magnet on the moving part, aligned face to face with the sensor. Protect every entry to the outside on the ground floor: front door, patio door, reachable windows, communicating garage door.
At what height should I install a motion detector?
Between 2 and 2.4 m, in a corner, perpendicular to the likely path of an intruder. The exact recommended height is in the manual: 2.2 m for Ring, 2.4 m for Ajax, 2 m for Bosch. The higher the detector, the wider the covered area, but the harder pet immunity becomes.
Why does my alarm go off for no reason?
In order of likelihood: a motion detector facing a heat source (radiator, sun through glass), a misaligned contact sensor that trips when the door vibrates, a pet crossing the detector’s field, or a low battery. Our dedicated guide to an alarm going off randomly walks through the diagnosis step by step.
Does a no-subscription alarm work without the internet?
Yes, for the essentials: the local siren sounds even offline, because the hub and sensors talk over radio (Zigbee, Z-Wave or a proprietary protocol). Without internet, however, you receive no push notifications and video recordings are not accessible remotely. Make sure your hub has a backup battery to ride out a power cut.
Are no-subscription alarms compatible with voice assistants?
Partly. Aqara and Ring integrate with Alexa and Google Home, Ring is HomeKit-compatible through the bridge mode on some hubs, and most kits can use their sensors in smart scenes (switching on a light when a door opens). The hub stays independent: it works even when the assistant is offline.
What happens if I move house?
Almost every kit comes down and reinstalls elsewhere: the tape peels off, sensors re-pair with the hub in minutes, and you simply reset the detectors you leave behind. Remove the batteries from sensors left for the new owner and revoke access for former household members in the app.
How long do sensor batteries last?
One to three years depending on the model and usage: a contact sensor on a busy door draws more than one on a rarely opened window. Every hub app flags low batteries before they die. Use branded alkaline batteries — our tests showed budget cells lasted half as long.
Which no-subscription alarm kit should I choose in 2026?
Our 2026 no-subscription alarm comparison ranks the five kits we tested: Aqara Hub M3 for the best equipment-to-price ratio and Matter compatibility, Ajax for robustness and the outdoor siren, Ring Alarm Pro for integrated video, Somfy Exavia Protect for simplicity, Bosch for build quality. The choice depends on your ecosystem and how many sensors you need.
The bottom line: an alarm fitted in one morning, tested to last
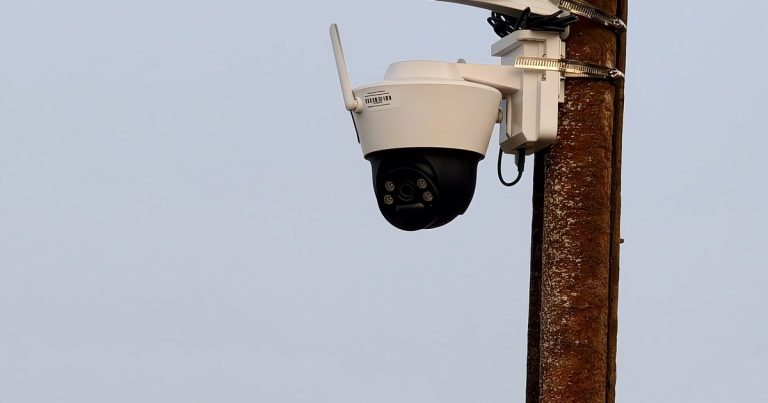
Installing a no-subscription alarm is within everyone’s reach, as long as you respect the order: a well-placed hub, contact sensors on every entry, motion detectors in the corners, and a full intrusion test before you trust the system. The five kits we installed this summer are still running, and the only incident we had came from a motion detector facing a radiator — exactly the placement mistake described above. Round out the setup with a properly installed outdoor security camera or a video doorbell, and your home will have what most burglars avoid: a visible, tested system that costs nothing per month.
About the author: Alex Mercer is a technical writer specialising in smart home and connected security. He installs and runs every system himself for several weeks before recommending it. See the author’s profile.
* This article contains affiliate links. If you buy through these links, we may earn a commission at no extra cost to you. Our tests, measurements and rankings stay independent of any commercial partnership.